DIY Summer Library Book Center!
Saturday, July 9, 2016This shop has been compensated by Collective Bias, Inc. and its advertiser. All opinions are mine alone. #CompleteWithGlade #CollectiveBias
During the summer, I love to take the kids to the library, and I'm lucky both of my kids love reading. This is a fun, free activity that will keep their minds active until school starts again, but there are certain things you need to take a trip to the library: Your library card ("Mom, I can't find my card!"), and the books you need to return ("I think I only had seven.") It would also be helpful if they were returned on time. Womp. My bad.
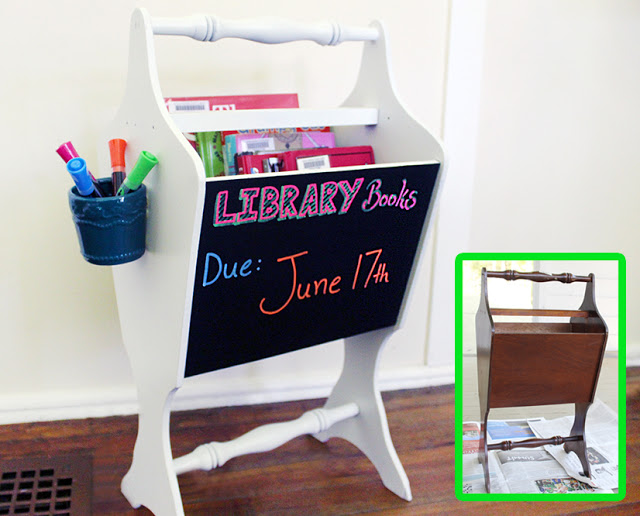
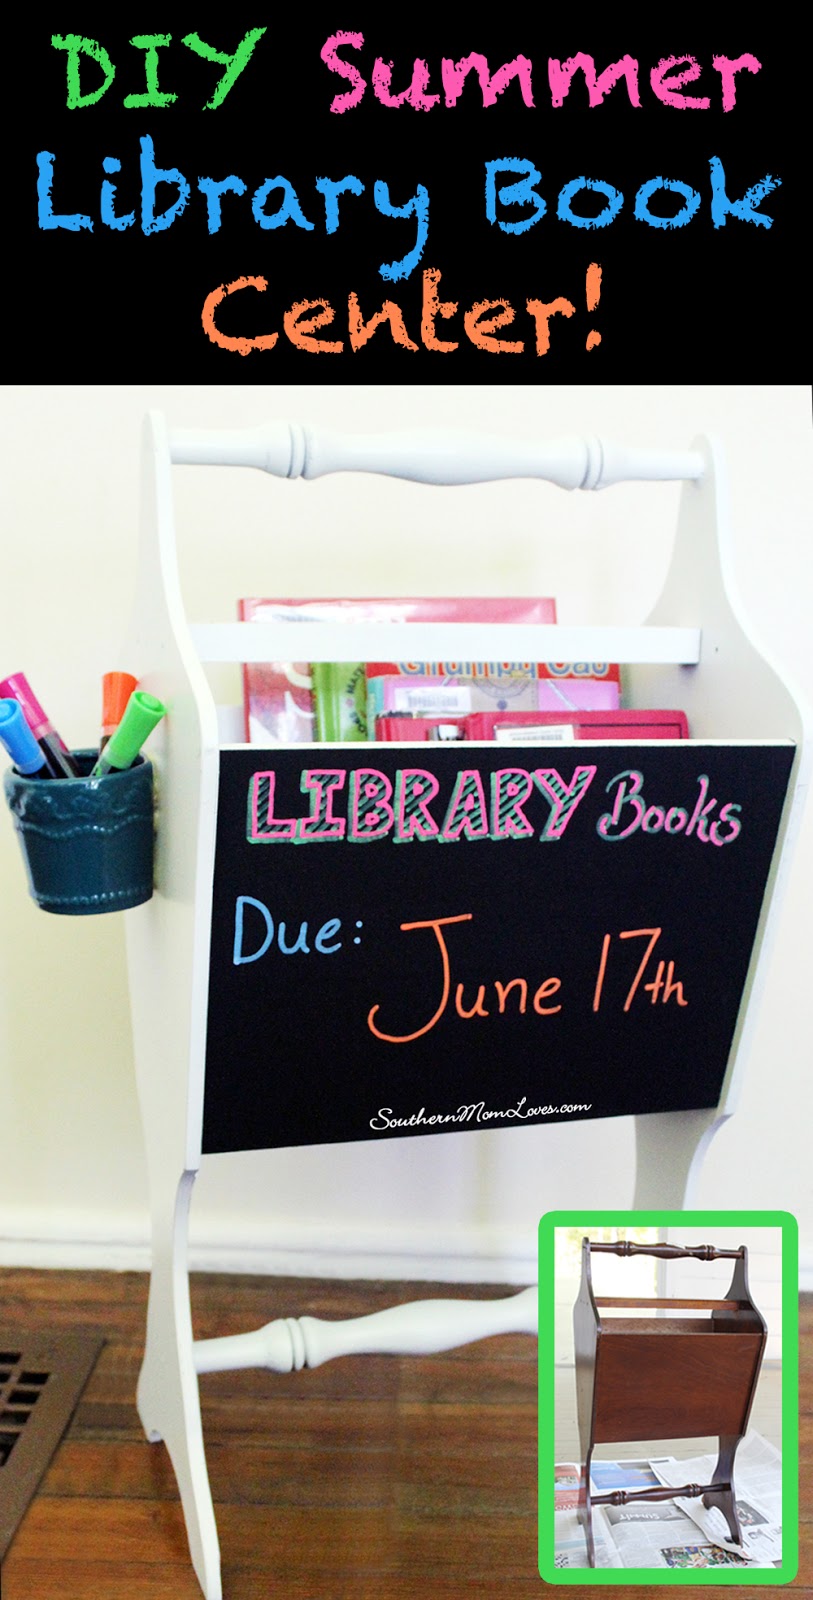
We needed something to get us summer-ready. A way to organize our library books and keep that due date foremost in our minds because, let's face it, how often do you really keep up with that library receipt? It had to contain all of the books in one place (not all over the house, please) and it would be great if we could write on it. Voila! An idea was born.
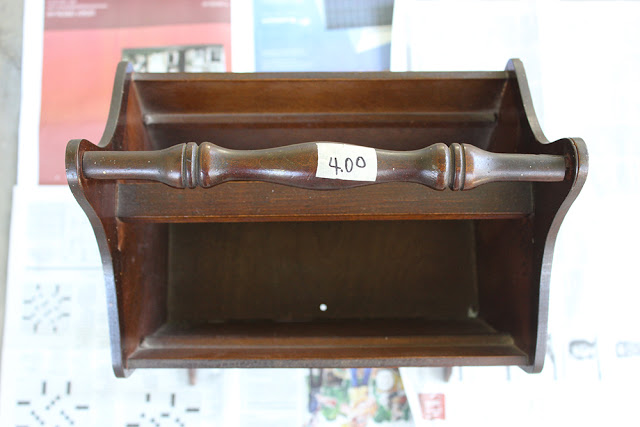
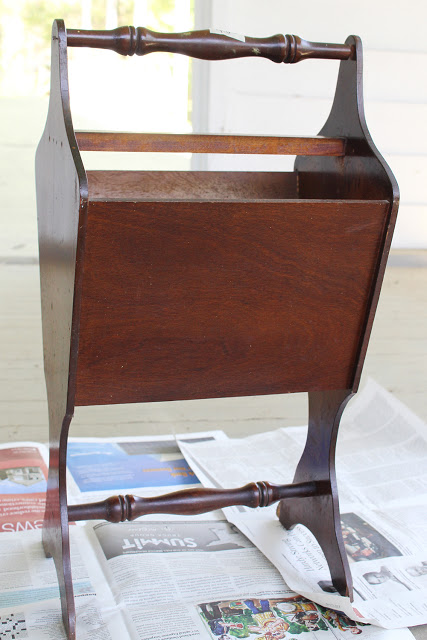
You can use any kind of large box or crate for this DIY Library Book Center, but I chose to use a thrifted magazine rack. The best thing about them is they're everywhere! These are so outdated that people are getting rid of them left and right. If you or your parents don't have an old one in your home, attic, or garage, you can easily find them in thrift stores or at yard sales. I scored a nice wooden one for $4 at a local thrift store, and it was perfect for the project I had in mind.
Note: If you come across a metal wire magazine rack, that can work too. See alternate instructions at the bottom of the post.
What you'll need to complete this project:
- Magazine rack/caddy, or other large, wooden box
- fine grit sandpaper
- spray paint
- newspaper or a dropcloth
- painter's tape
- 3" roller with a paint tray (you can get this in a set)
- 1" chip brush
- chalkboard paint
- adhesive-backed velcro squares
- small magnetic air plant pot, or a small pencil cup with a flat side
- gorilla glue
I took my list to The Home Depot and found everything I needed, including all of my favorite Glade® products.
I have a thing about scents, which is probably why my perfume collection is out of control. I like to change my scent depending on how I'm feeling, the season, or what colors I'm wearing. It really helps lift my mood, and I'm the same way with my home. When my home smells lovely, I feel good, and when I feel good, I get creative, and everybody wins!
You can find all of the Glade® products in the Cleaning aisle and online.

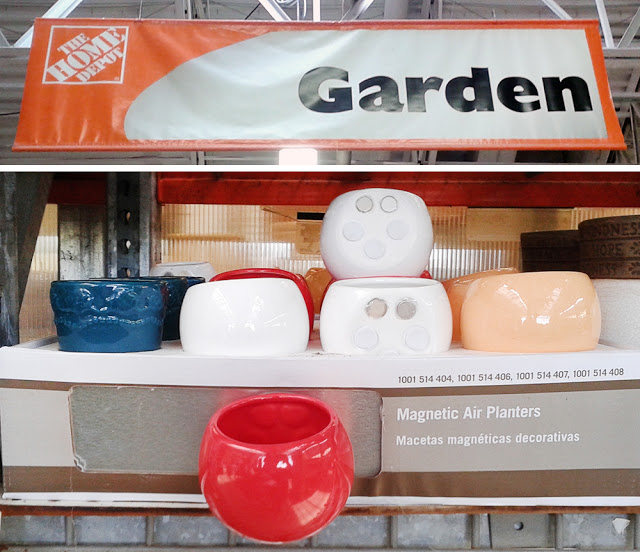
I found just about everything else I needed in the paint aisles. You can find the velcro in the hardware section (look for a "fasteners" or "picture hangers" section), but you'll have to go to the garden center for the cute pots I found to hold our chalk.
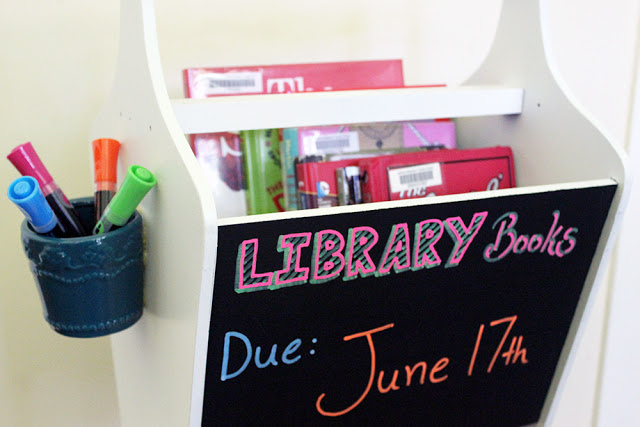
I was thinking I'd use an old square pencil cup we had, but as soon as I saw those air plant pots, I was in love! They come in four cute colors, are very light, and have one flat side to better adhere to my Library Book Center. Perfect!
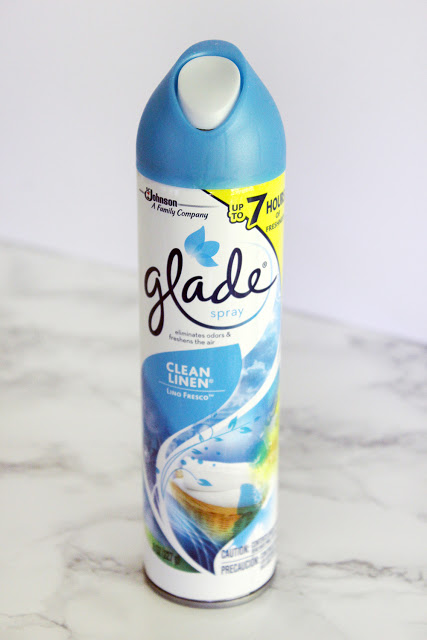
It's time to prepare my space! There's nothing like the scent of Glade® Clean Linen® to make a home smell fresh and welcoming. This is my go-to fragrance, especially when company is coming. People are particular about smells, and while you may love the scent of lilies, someone else may not. The scent of freshly dried laundry is so universally appealing that it's a sure bet your guests will feel right at home.
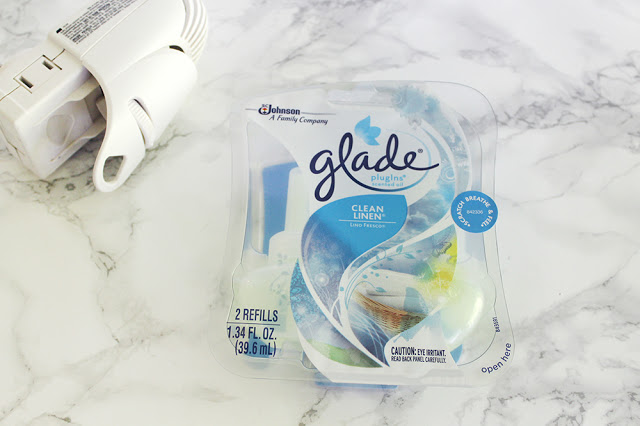
I scent my home in a few ways. First, I use Glade® PlugIns® Scented Oil for 24/7 freshness. Its long lasting and scents my home with a light fragrance that keeps working at keeping my home smelling good even when I can't.
Next, I always keep a Glade® Room Spray handy for emergencies, like when company is on the way, but I just fried bacon for sandwiches or hard-boiled some eggs. What is it about some food smells that just linger way longer than they should? A quick spray, and I'm ready for guests.
And the last is just for me. When I'm working or DIY-ing, I love to use a Glade® Wax Melts warmer in my space. It's a powerful way to add any scent, just when you want it.
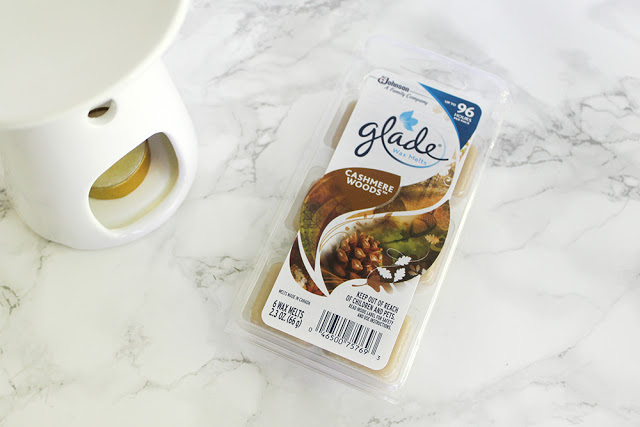
Lately I'm loving Glade® Cashmere Woods®. It's a snuggly scent with notes of citrus and jasmine warmed by amber and vanilla beans. It's my current favorite. Now I'm all set to get started!
Summer Library Book Center Tutorial
1. Thoroughly clean your magazine rack and remove any dust or sticker residue. Allow to dry.
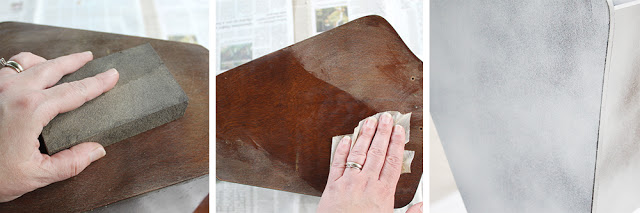
2. Lightly sand all surfaces. Wipe the dust away with a damp cloth and allow to dry again.
3. Move to an outside or well-ventilated area to spray paint. Shake the can thoroughly and spray a light coat onto all surfaces and allow to dry. You'll want 2-3 thin coats instead of 1 thick coat to avoid running paint.
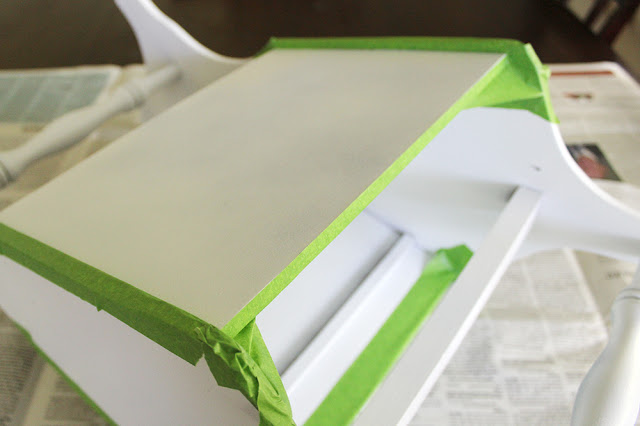
4. Once your spray painting is finished and your magazine rack has dried for at least 24 hours, start taping off the area you want to be a chalkboard with the painter's tape.
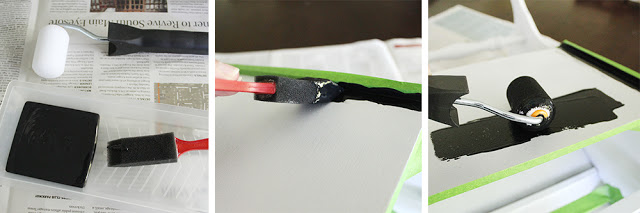
5. Prep your chalkboard paint by shaking well. Pour a small amount into the roller tray and use the chip brush to cut into any crevices that the roller won't reach. Use the roller to apply a thorough layer of the chalkboard paint. Allow to dry for 24 hours between coats. You'll want 2-3 coats to get a smoother chalkboard surface.
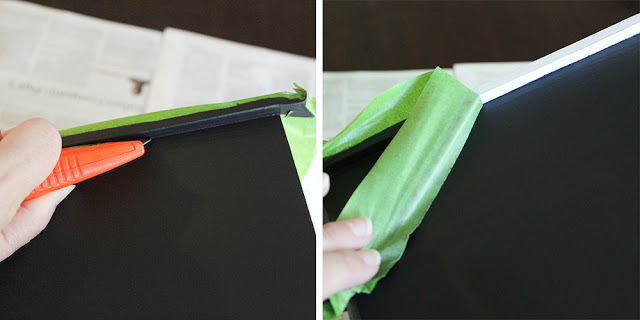
6. Once your last coat has dried for 24 hours, use a box cutter or a sharp knife to run along any edge where the paint meets the tape. With multiple layers of paint, you could pull up your chalkboard paint at the edges, so just use a sharp edge to release the paint from the tape.
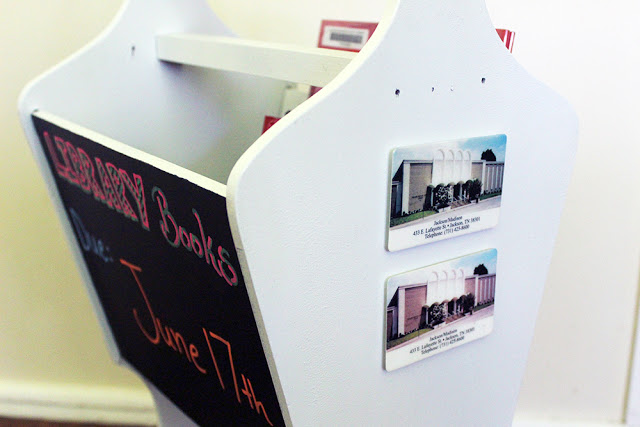
Attaching library cards:
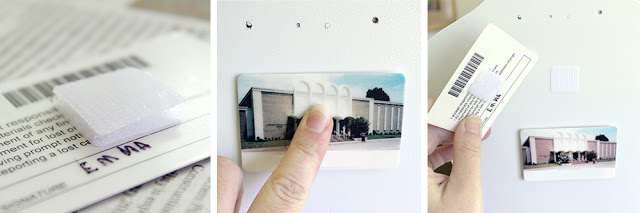
1. Lay all of your cards face-down and attach the sticky side of a velcro square to the back, making sure not to obscure any numbers, barcodes, or signature panels. When attaching the squares, choose the softer side to attach to the card and the rough side to attach to the Library Book Center.
2. Take the other half of the square, remove the backing, and align it rough-side-down on the first square. That way you can hold the cards up to where you'd like them on the side of the Library Book Center and just push them into place.
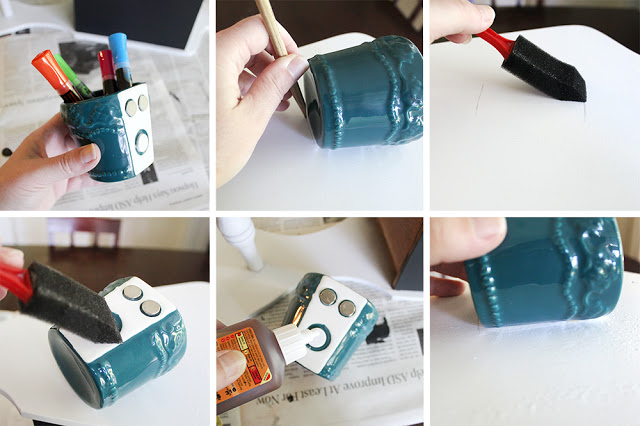
Attaching chalk holder:
1. Lay the Library Book Center on its other side and place the cup where you would like to attach it. Trace its placement lightly with a pencil.
2. I'm using gorilla glue, which will hold your cup firmly. It's water activated, so using the clean chip brush or your wet finger, spread water on both surfaces to be glued. If using the magnetic air plant pot I'm using, remember to remove the protective plastic from the magnets on the back first.
3. Apply a small amount of the glue to the back of your pot (the glue will spread to 3x its starting volume, so don't go overboard), and place on your book center. Allow it to dry for 24 hours.
Alternate construction:
If you can only find a wire magazine rack, you can use that too! Clean it well, pick up some metallic spray paint (rose gold would be cool), spray it, then have a piece of thin board cut to fit the front and back sides. Drill holes in all four corners, paint it with chalkboard paint, then attach it with twine, yarn, or ribbon. You can still glue a chalk cup on one side, and you could glue a clear plastic cardholder for each library card to the other side.
You're all done! The only thing left is to have fun with the chalk and fill it with your library treasures!
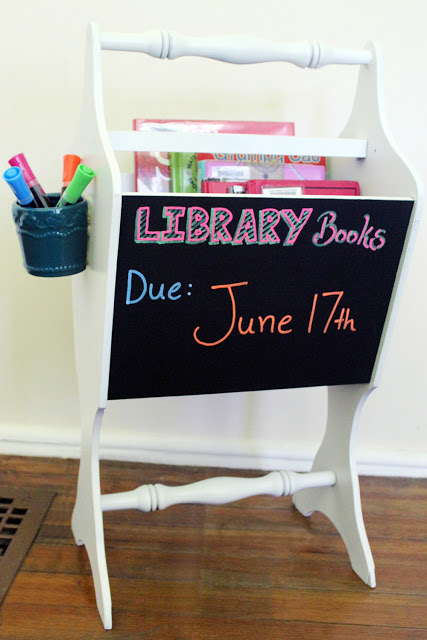
I am so excited and happy about this project! It's something we've needed for years and now that it's finished, I couldn't be more pleased with the way it turned out.
I'm so glad I had the chance to #CompleteWithGlade. The feeling of taking an idea to fruition and having it work well is indescribably fulfilling!
Check out The Home Depot Blog for more fun summer DIY projects, and the Glade® website to find the newest summer scents to help you #CompleteWithGlade!
PIN ME:
You can visit Glade® on their website, Facebook, Instagram, Twitter, and Pinterest.
Do you think a Library Book Center would help you out this summer? Will you be making one? What are your favorite Glade® scents? I love to read your comments!


0 comments