DIY Dry-Erase Menu Board with Free Printables!
Monday, March 10, 2014
This post contains affiliate links.
I get a lot of questions about staying organized with meals and I have to say, having a Menu Board is a key element for me. I did a post about Menu Planning here, and decided I needed a prettier board. So what does a DIY gal do about that? She gets to work.
What you'll need:
- A picture frame with glass, 8 x 10 or 8-1/2 x 11 (for documents like diplomas.) You can also use a larger size with a mat, but the printables provided here will only print up to 8-1/2 x 11.
- A Printer
- Pair of Scissors or an Exacto knife (if your frame is smaller than 8-1/2 x 11)
- A Dry-erase Marker
- Optional: Magnets for fridge hanging
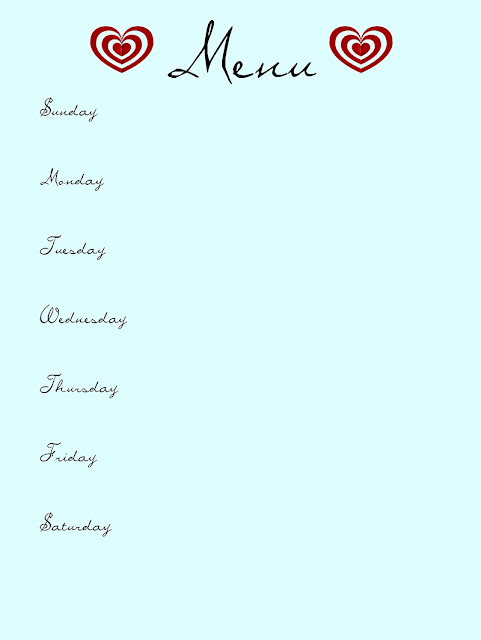
Step 1: Print out one of the free printables I made up for this project. Just right-click on the photo of the menu color below that you'd like to print and choose "Save Image As..." to download it to your computer.
 |
| Blue for Dark Dry Erase Markers |
 |
| Black for Light Dry Erase Markers |
Step 2: Clean your glass well and cut the paper to fit using the glass to outline your cuts. I spaced my glass about 1/4" away from the top and sides. Keep in mind your frame has a lip to keep the glass in, so 1/4" is as far as you want go in from the top.
 |
| 1/4" from top and sides |
 |
| Either trace and cut with scissors |
 |
| or hold the glass and cut with an Exacto knife |
Step 3: Put the frame together and you're done!
 |
| Ta-da! |
 |
| Purdy. |
Optional step 4: Since we're using breakable glass in this frame, I would pick up 4-6 powerful magnets and glue them to the back using a serious adhesive like Gorilla glue.
Enjoy your pretty Menu Board!


0 comments